Galaxy Hand Lettering

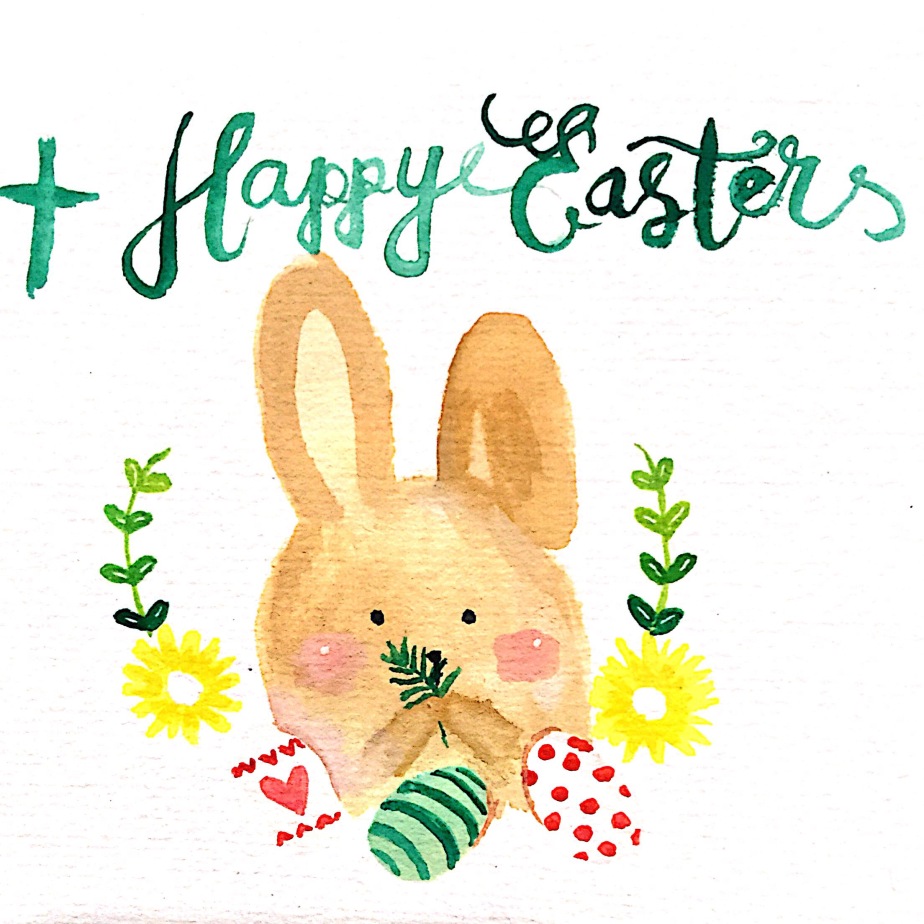
Anything galaxy seems to be the latest trend and I jump on the bandwagon right away. Another thing I’ve been crazy about lately is hand lettering. I know it’s been around for awhile, but instagram has made it into some sort of masterpiece. I mean, not to be a snob but even before this hand lettering trend, I already consider myself to have a pretty neat handwriting. So, I thought it shouldn’t be too difficult to make one. But in reality it’s quite a challenge because it requires delicacy and flexibility (the current eating canvas logo shows how much I was failing, guys, I will definitely update the logo to prettier one).

I learned a lot from Instagram but here’s the basic key:

Downstrokes are thick, upstrokes are thin.

You master that, you own it. To completely master that though, I need a lot of practice so that my hand can remember to apply pressure firmly for downstrokes and to not apply pressure when doing upstrokes. I will skip the basic because so many have created the guide for it. Here is a good start to learn hand lettering (because it’s free):

By Dawn Nicole
Grace Song Calligraphy

I first saw galaxy hand lettering from Grace Song on Instagram and although she showed snippets of how it’s done on her instagram, I want to create more step by step guide for beginners. Because, who understands beginners most if not a comrade beginner, right?

You’ll need:

  • Brush #3, #1, and #000 (if you have #0000 it’s even better)
  • Blue-ish purple water color
  • Pink water color
  • White water color
  • Water color paper (or thick drawing paper)
  • A cup of water
  • Napkins
  • A colored pencil with the color of your choice
  1. Find quotes or words you want to write
  2. Hand letter it with pencil first. I used violet colored pencil so that the color will blend when I trace it with water color.
  3. Trace stroke by stroke with brush #3 dipped in purple water color. Use more water than usual because you’ll need to blend the next color for the galaxy effect, but not too much or it will make blobs of water. IMG_5668
  4. After a word is done, grab brush #1 to add a pink color to the top (or bottom, depending on how you want to make your gradation) part of the letters. Blend with the purple colored brush. Do this step before the purple is completely dried. This step also allows you to fix some imperfections by blending it smoothly.IMG_5670
  5. When all the words are done, with the smallest brush possible, do white dots randomly as if you fill the letters with stars. Do variations on the size of the white dots to create that galaxy effect.IMG_5675

You can also choose other colors. I tried marine blue and green and it still created that galaxy effect. Or, if you just want some gradation, skip the last step 🙂

It may not be the best guide but I hope you get the big idea of it. Hand letters also have some variations and you can certainly make your own version but this post will probably explain and inspire you most.

More galaxy trend:

Happy Easter!

A few weeks ago I attended a watercolor workshop with my friend. It was held in a very far place from my home but I went anyway despite my novice driving skill. I was so excited and I thought maybe after that workshop, I could make something like what those illustrators in instagram make. Turned out, I am still far from those awesome people in instagram even after the workshop. But no worries, because through the workshop, I learn to enjoy watercolor painting.

I used to hate to watercolor anything because it was really hard to control and sometimes it didn’t come out as I wanted to. Now, I love water color! It’s so pretty and it’s actually very fun. You don’t have to be perfect, don’t have to stay in line and you can do anything with it. So yeah, no big deal,  I’ll get the hang of it because I believe practice makes perfect 🙂

Here’s one for you:

IMG_4375


Earl Grey Chiffon Cake

March feels like it’s been going on forever now. Every week feels so long and never ending. I would think that today must be Thursday already and tomorrow would be Friday. The thing is, that thought occurs almost everyday to me that it feels like the torturing Thursday never ends and Friday never comes.

The good thing is, I was able to make some time to bake stuff despite my busy schedule. I even got help from my friend, The Blushing Rabbit, for the most dreadful task in the kitchen: separating egg whites and egg yolks. If there’s anything I hate the most about baking, it’s not the cleaning up part as what people usually complain, it’s separating eggs! I don’t mind cleaning up at all I even find it therapeutic sometimes, but oh my God do I have no patience for separating eggs. So, yeah, I was very pleased when my best friend offered me some help for that. That’s what friends are for, separating eggs when you can’t.

yolk batter


fold in

Make sure there’s no even a trace of yolks or any kind of fat/water in the egg whites mixture or else the meringue won’t be possible. The meringue is very important for chiffon cake as it is the only leavening agent that can make your cake raise properly. It’s what makes chiffon cake, a chiffon cake. Airy, light and fluffy.

oven


invert

Why you need chiffon cake pan to make chiffon cake? Because it allows you to invert the pan for cooling process. Chiffon cake is really delicate it can collapse because of its own weight. To solve that problem, let gravity helps you with that.

coloring book

While waiting for the cake to completely cool down, I like to do some coloring book. This one I got from my friends for birthday present is my current favorite. It’s The Time Chamber by Daria Song. Not only does it have beautiful and detailed artwork, it has a storyline as well. It makes me feel excited to finish each page and flip over to the next page to know what’s going to happen to the character.

ig

For more detailed information, troubleshooting, tips and tricks for making chiffon cake, I like to go to this website.

slice

RECIPE:

card


I usually did my illustrations through digital art with my iPad but for this post, I manually did the illustration with water color and pen. It’s got different feeling but I am not sure which one is the best yet so I will probably keep experimenting with different media. If you have suggestions or preferences, do let me know!